

Hike To Upper Yosemite Falls & Yosemite Point: How To Complete
Looking for everything you need to know about the hike to Upper Yosemite Falls? You’ve found the right guide. This is one of the oldest trails in Yosemite National Park, built sometime around 1873-1877.
It climbs 3,300 feet over 8 miles round trip to the brink of North America’s tallest waterfall and beyond to Yosemite Point, one of the most spectacular viewpoints in the entire park.
Let’s be real. This hike is hard. It’s dusty, dry, and relentlessly steep on the upper switchbacks, with little shade and full sun for the most punishing section. That being said, it’s totally worth it for the panoramic views at the top.
For our full 4-day Yosemite itinerary, things to know, and more, be sure to check out the full post!
This post may contain affiliate links, which means I’ll receive a commission if you purchase through my links, at no extra cost to you. Please read our full disclosure for more information.

Map
Check out the map above to get a better picture of what we saw and did on our first day in Yosemite National Park.
Hike To Upper Yosemite Falls and Yosemite Point
First, start your trip to Yosemite off right with a hike on one of the oldest trails and see North America’s tallest waterfall! The Upper Yosemite Falls Trail was built sometime around 1873-1877.
Imagine yourself in the Yosemite Valley in the late 1800s – no cars, very limited services. You’re a tourist riding in on a stagecoach or wagon. How long would the journey have taken to reach Yosemite Valley?
Upper Yosemite Falls rises 2,425 feet above the Yosemite Valley Floor, and you can hike all the way to the top. That being said, this is an extremely strenuous hike full of switchbacks. Get ready for some fun!
- The round-trip trail to Yosemite Point is 8 miles with 3,300 feet of elevation gain.
- It’s dusty, dry, and hard on your knees. There are no restrooms on the trail.
- Be prepared with food and water. You won’t find any along your hike.
- Start your hike as early as possible to beat the heat. The upper portion of the trail has little shade.
- Upper Yosemite Falls Trail may be slippery, and there are steep drop-offs.
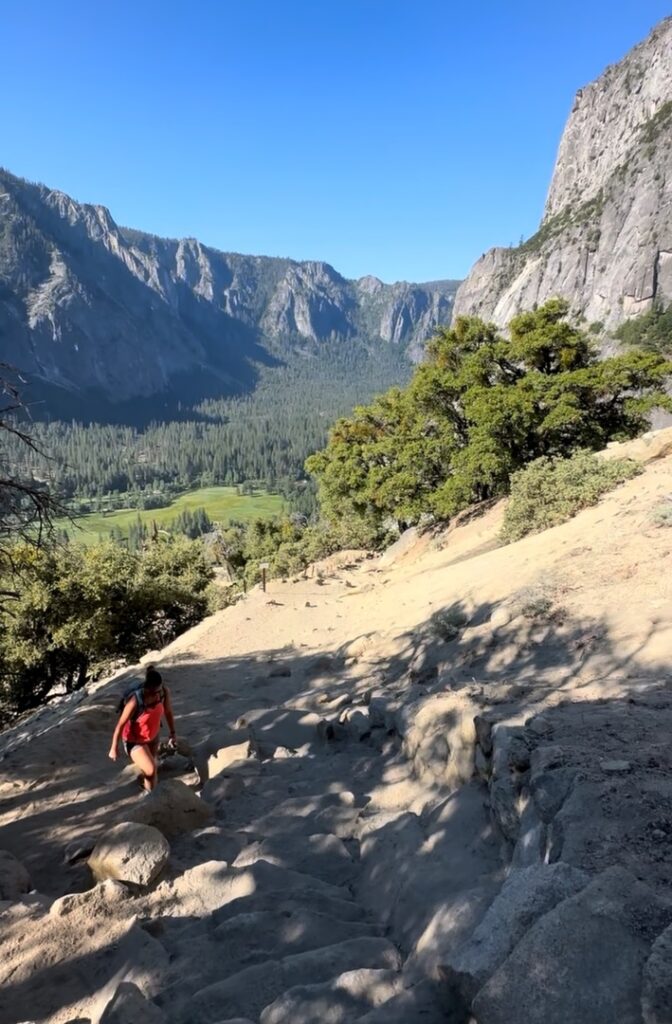
Trailhead – Camp 4
This starts at the parking lot near Camp 4. This trailhead is located near shuttle stop 7. First, take the Valleywide shuttle to reach this location. If you can get here early, you can secure parking in the lot to the south of the road, but do not park in the campground parking area. Next, follow the signs to the trailhead and begin your hike.
🌳 Looking for more amazing things to do in Yosemite? Check out our full itinerary here.
Switchbacks to Columbia Rock
First up is a series of switchbacks that will lead to Columbia Rock. Take as many breaks here as you need because this is only the beginning! This part of the trail is shaded and very steep. After about 1 mile and 1,000 feet of elevation gain, you will arrive at Columbia Rock.
This location has some excellent views of the area, and from this point on, the views really open up. Half Dome, Yosemite Valley, and much of the south rim come into view.

Columbia Rock to Upper Yosemite Falls Viewpoint
From Columbia Rock, the trail actually flattens out a bit and descends for about a half mile. This is a welcome reprieve from the switchbacks, but not to worry, there are more to come. Hiking to this point is also an option for an amazing view of Upper Yosemite Falls for those not wanting to continue!
Depending on the season, the mist from the waterfall will aid in a quick cooldown. By the time August rolls around, water levels are low, and you may only see a trickle.

Next, continue on the trail until you reach the next set of switchbacks. The upcoming section is the most strenuous and grueling part of the hike, with little shade and full sun during the summer months. Keep pressing on! You can do it!
➡️Read next: Yosemite National Park Itinerary: How To Visit Cathedral Lakes
Upper Yosemite Falls Viewpoint to the Brink
Following your nice break and amazing view, it’s time to climb! Then, switchbacks continue up the mountain for a little over 1 mile. This hike is definitely hard. It sort of feels like it will never end as the sun beats down and zaps your energy. Eventually, you will reach the top of this section, and all of your hard work will be worth the views that await.
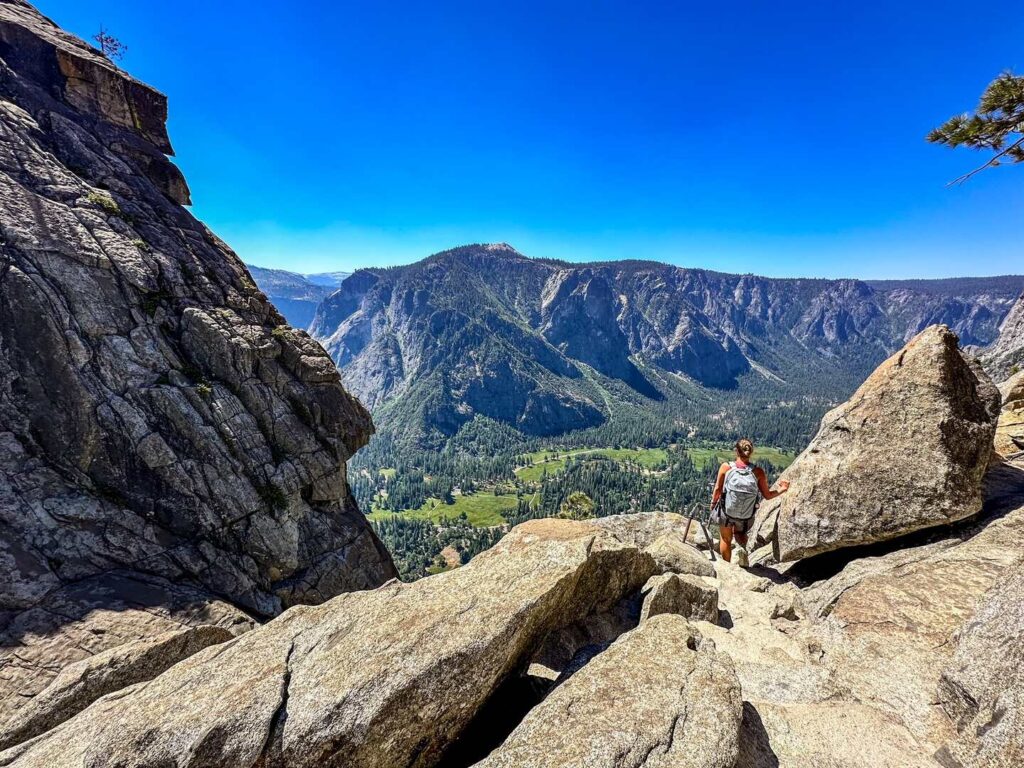
From the signpost, continue on the trail to the south to reach the famed overlook and brink of Upper Yosemite Falls. If you’re afraid of heights, this section might be scary for you, but there are railings present to help you down.
Continue descending the rock steps until you reach a skinny section with a handrail on the side. Use this to guide yourself down to the viewing platform. Furthermore, wait for oncoming traffic heading back up the trail, as two people on this section is very tight and a fall off this ledge is going to hurt.
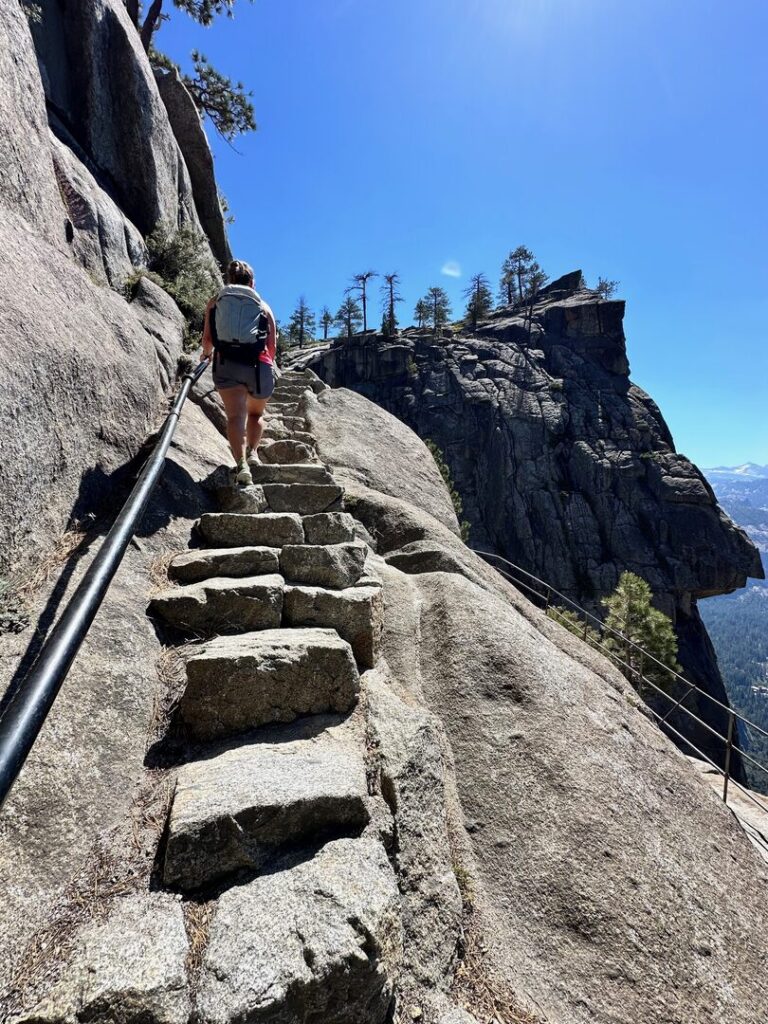
On the viewing platform, Yosemite Valley below, surrounded by the mountains, is astounding! Finally, take some time here to enjoy yourself and reflect on what you just did to get here. Not everyone can make it to this point, so you’ve done well!
Lastly, head back up the trail the way you came and prepare for the final section to Yosemite Point. Following the strenuous hike up the switchbacks, you might be wondering if it is worth the extra effort. Yes x 200! Grab a quick snack and head toward the signage for the North Dome Trail.

Brink of the Falls to Yosemite Point
At the North Dome Trailhead, hike until you reach Yosemite Creek. It may look inviting in the summer heat, but be advised that it’s not wise to swim here. Remember that waterfall you just looked down over?
Yeah, you don’t want to end up going over that edge! Some folks may choose to get in the water here for a quick cooldown, but please be careful if you do so. Next, cross the bridge and continue on the trail. From here, it’s a little less than a mile to Yosemite Point.

Generally, this section of the trail is a bit harder to follow as the trail heads up the rocky granite surface. Do your best to stay on the trail here. Finally, you will reach Yosemite Point and all of its glory!
The view into the Yosemite Valley is unmatched. From here, you will see Half Dome, The Lost Arrow Spire, and Eagle Peak! Lastly, take a rest and relax. This is a great place to have lunch before heading back down the mountain.
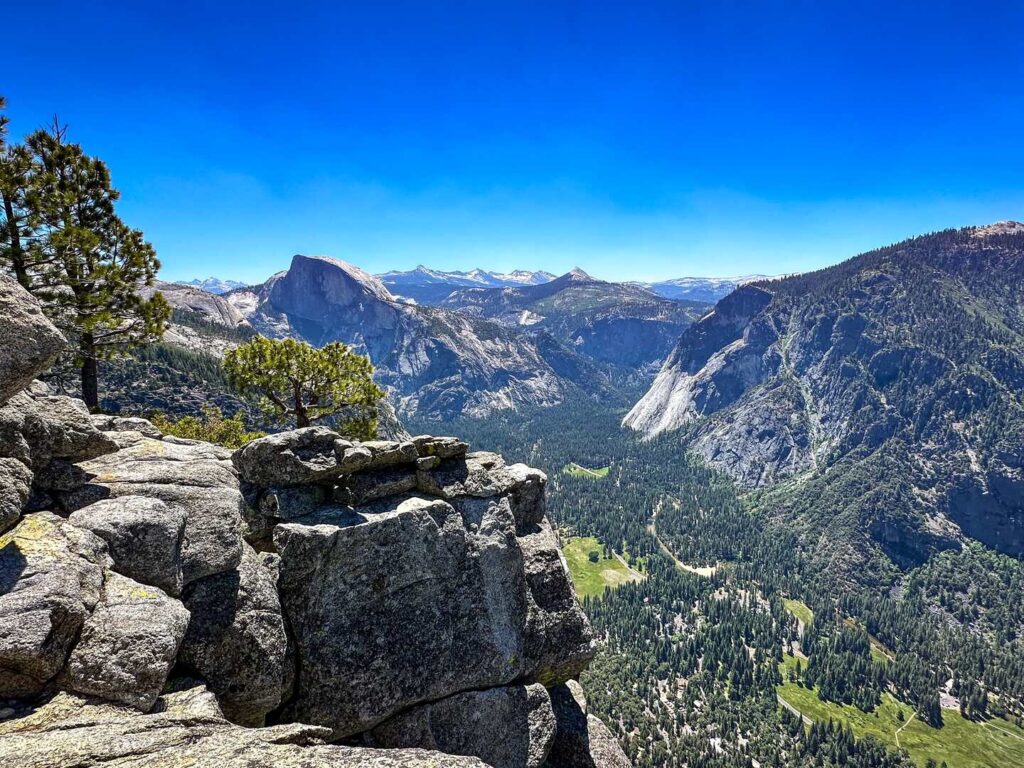
Finally, it’s time to hit the trail down the switchbacks. Hopefully, you brought your hiking poles. If so, your knees will thank you! If not….well….have fun! As much fun as it is to descend a trail after a grueling hike, sometimes going down can take a bit longer due to other hikers coming up the mountain.
However, if your knees can handle it, you can really get moving! Most of the trail is still in full sun here, so be sure to keep hydrated. When you reach the trailhead, you’ve done it! If you have time, take the shuttle to Lower Yosemite Falls.
👉🏽 Looking for a fun tour or other things to do in Yosemite National Park? Check out the options from Viator!
🛏️Don’t forget to book your accommodations in Mariposa or Yosemite Valley. Book early to guarantee your room because Yosemite is a VERY popular destination!
Lower Yosemite Falls
Last up on the 1st day of your Yosemite itinerary is a quick hike to Lower Yosemite Falls. Following your epic hike, take the shuttle from Camp 4 (Stop 7) and ride it all the way to Lower Yosemite Falls (Stop 6).
Note, this is not the quickest way to get here, as the shuttle will take you around the entire loop. However, riding the shuttle is a nice break from walking – plus they have air conditioning! Additionally, you can walk about a half to 1 mile to get to Lower Yosemite Falls.
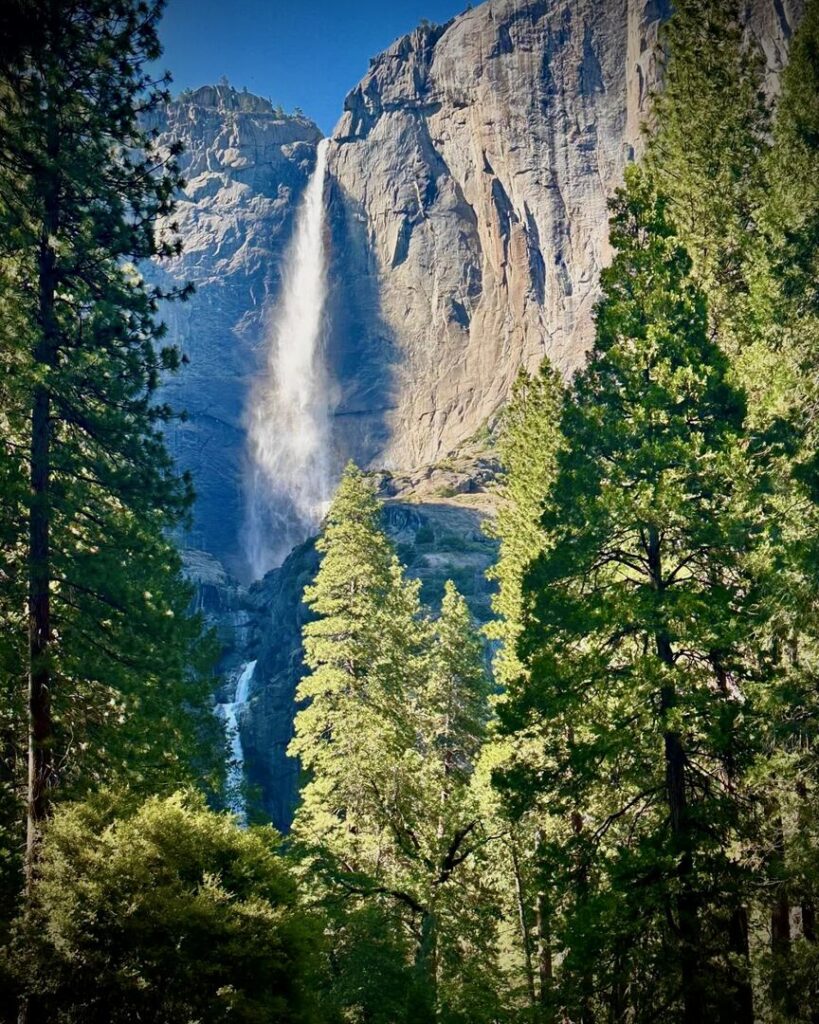
When you reach shuttle stop 6, the Lower Yosemite Falls Trail is a 1 mile-flat loop that has breathtaking views of both Lower and Upper Yosemite Falls. Plus, you can brag to your friends later that you climbed all the way up there!
There are restrooms and a drinking fountain here, should you need them. Finally, hop on the shuttle, head back to your car, and prepare for that after-hike meal! You know the one!
Where to Stay Near Yosemite National Park
Booking a place to stay is one of the most important things to do early for a Yosemite itinerary. Options inside the park book out 6-12 months in advance for peak season dates. This is not an exaggeration! Set a reminder and book the moment your travel dates are confirmed.
Inside Yosemite Valley: book as early as humanly possible:
- The Ahwahnee, a National Historic Landmark, the most iconic hotel in the park. Stunning architecture, nature views, a heated pool, and shuttle access. If you can get a room here, take it.
- Yosemite Valley Lodge, perfect for families and groups, is close to Lower Yosemite Falls and the shuttle.
- Curry Village, hotel rooms, cabins, and canvas tent cabins. Plenty of nearby food options and a lively atmosphere.
Outside the park: our home base:
We stayed in the Midpines/Mariposa area for our 4 days, and it worked extremely well. About 1 hour from Yosemite Valley, this area has reliable, affordable hotels and puts you on the right side of the park for Days 1, 3, and 4.
- VRBO – our top pick for a stay near Mariposa and the Yosemite Valley, but there is a drive into the park each morning. However, it will be cheaper than park lodging. Find a place to stay now.
- Best Western Plus Yosemite Way Station Motel – clean and comfortable, with a variety of breakfast options. Book your stay on Expedia or Booking.com.
- Miners Inn – breakfast included, pool. Good value and clean. Check it out on Expedia or Booking.com.
- Browse all Mariposa options on Expedia or check out the other options near Yosemite Valley.
Final Thoughts

Our hike to Yosemite Falls was one for the books! Can it be beaten? We don’t know! To be honest, we were a bit worried about the trail. It was hot, dusty, and dry.
We both had a full 3-liter water bladder, but one of ours was empty about halfway down the trail. Take as much water as you can!
In summary, the views from the brink of the falls and Yosemite Point were absolutely jaw-dropping. We are so glad that we completed this grueling hike – it was 100% worth the pain and suffering on those 60+ switchbacks.
🏞️ To continue your 4-day Yosemite itinerary, check out Day 2 – Visit Tuolumne Meadows and hike to Upper and Lower Cathedral Lake.
Lastly, don’t forget to pin this post for future planning! Just click the save button located on any image.


